

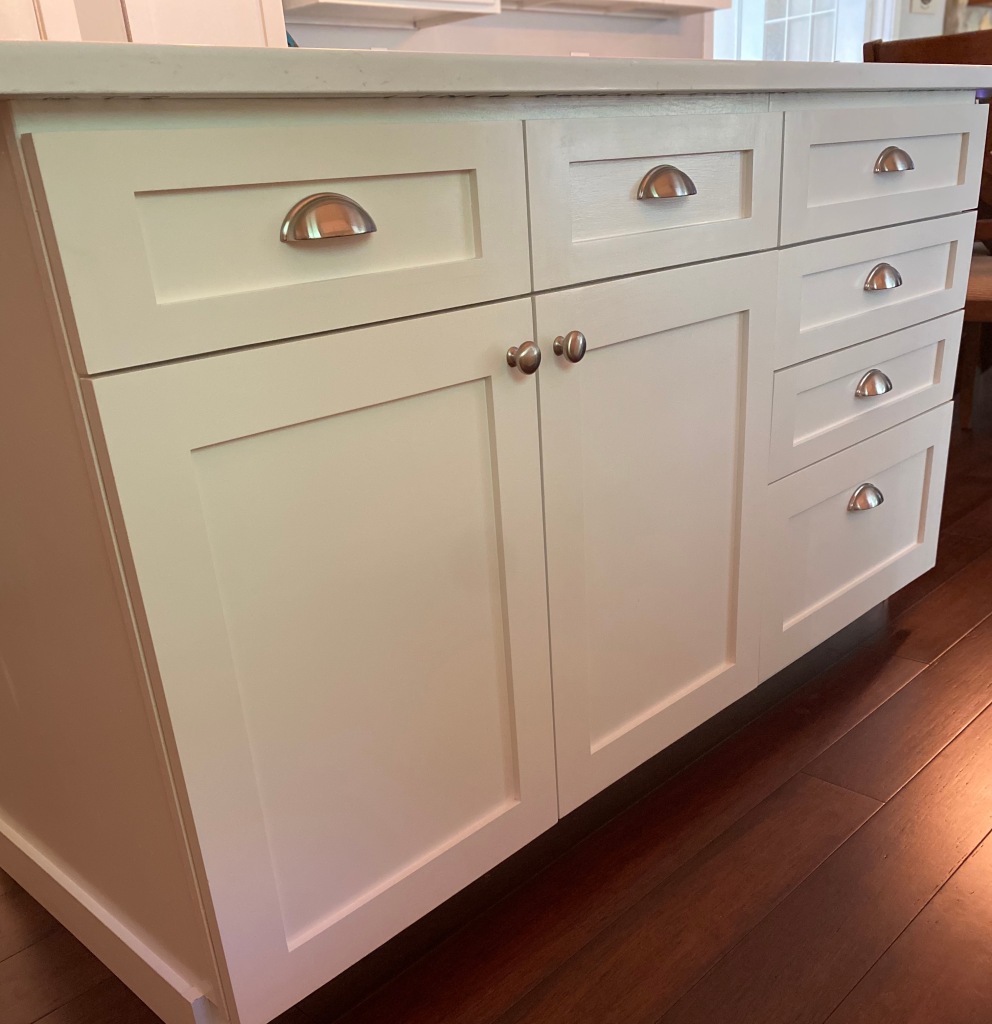
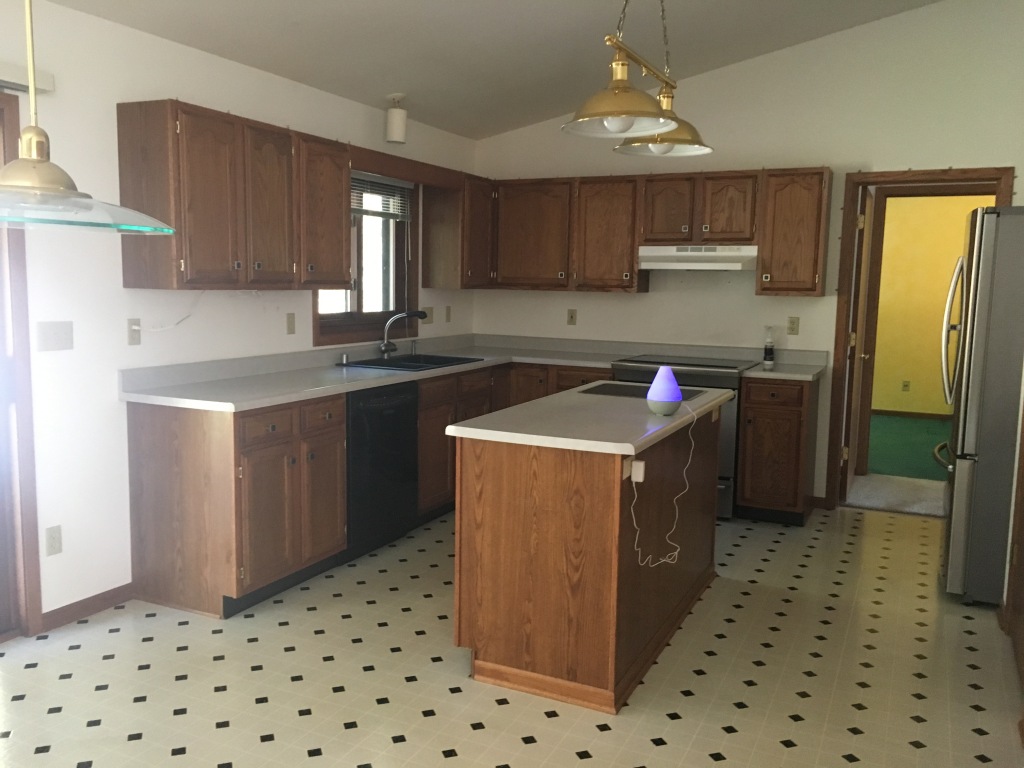
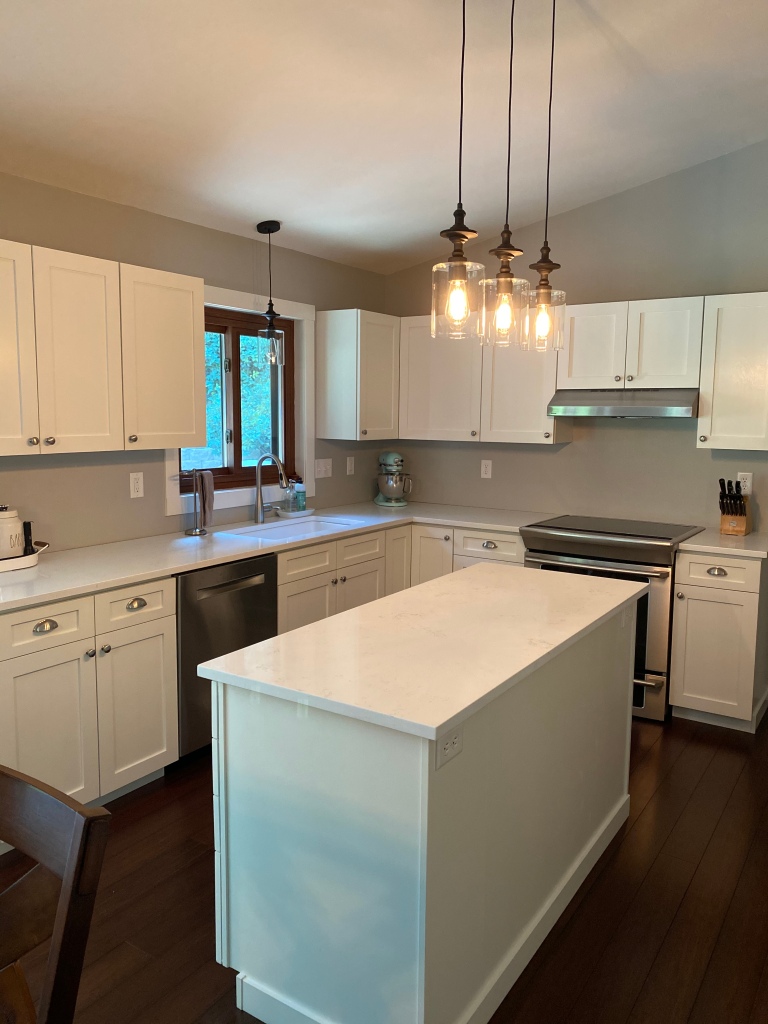
Sure, you can buy new cabinets or pay to have them refaced, but where’s the fun in that? 🙂 Not to mention, who’s going to foot the bill! We have 84 cabinet doors and drawer fronts in our house (so far!) and we have built each one of them. Due to the exact measurements needed and space limitations in the shop, we found it most efficient to complete this huge project in batches. We ended up completing all 84 cabinet doors and drawer fronts in 5 batches. Another way we made the task more manageable was by utilizing a spreadsheet to keep track of all the different measurements.
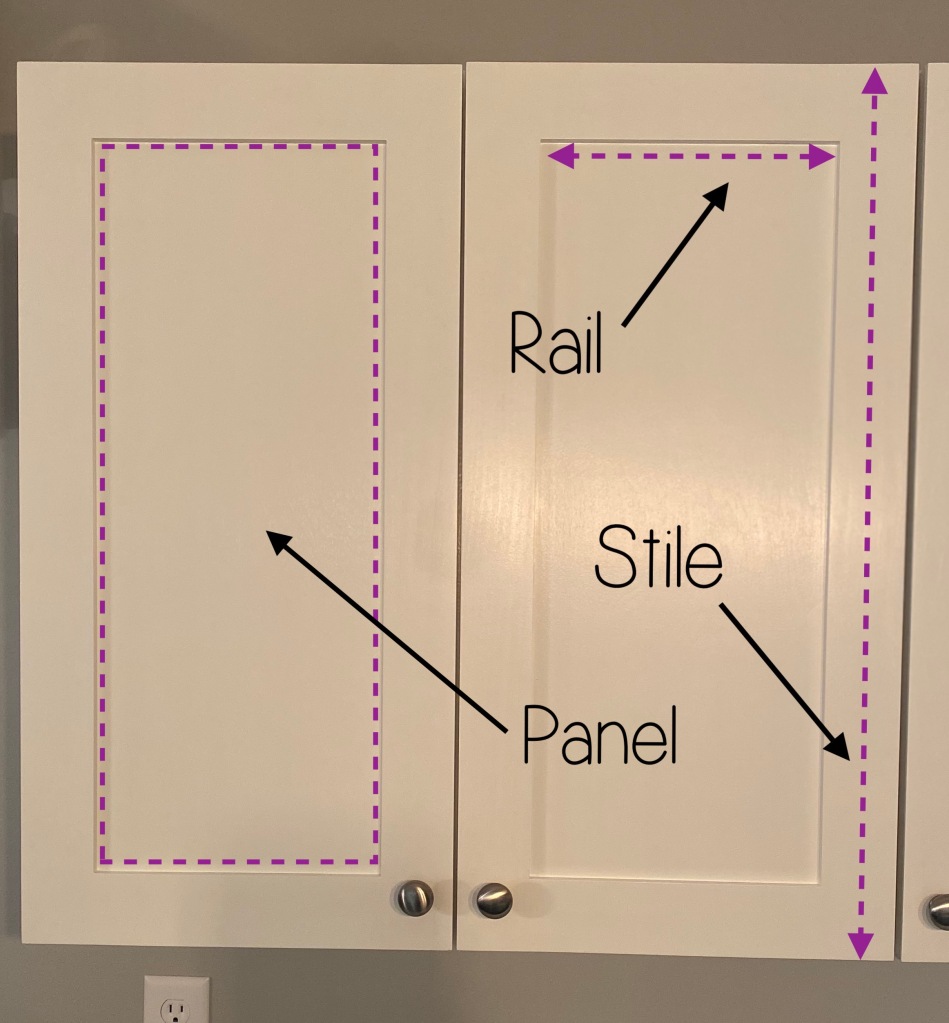
Before we get into the exciting spreadsheets, though, it’s important to define the three components of a cabinet door. The frame of the door is composed of vertical and horizontal boards and inside the frame is a panel. The horizontal boards are called rails and the vertical components are stiles. The length of the stiles will always be the same as the final height of the door. The rail length is then equal to the final width of the door plus the length of both tenons minus the width of both stiles (see table in Step 2 below).
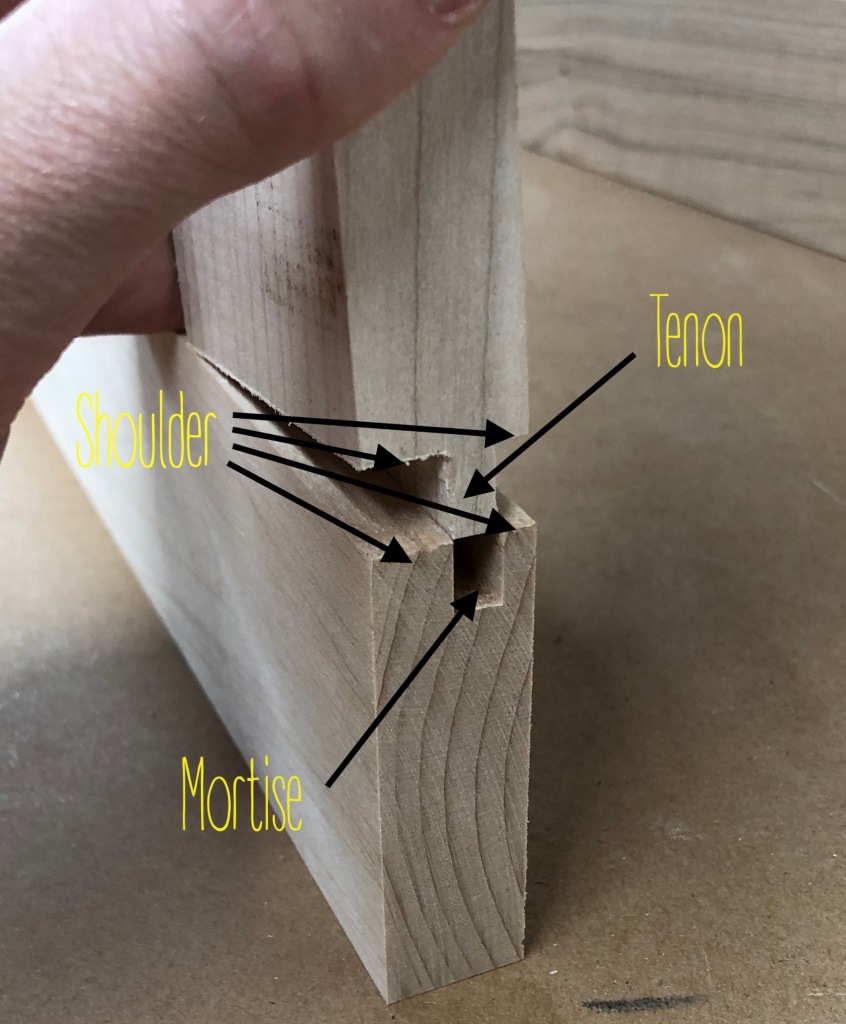
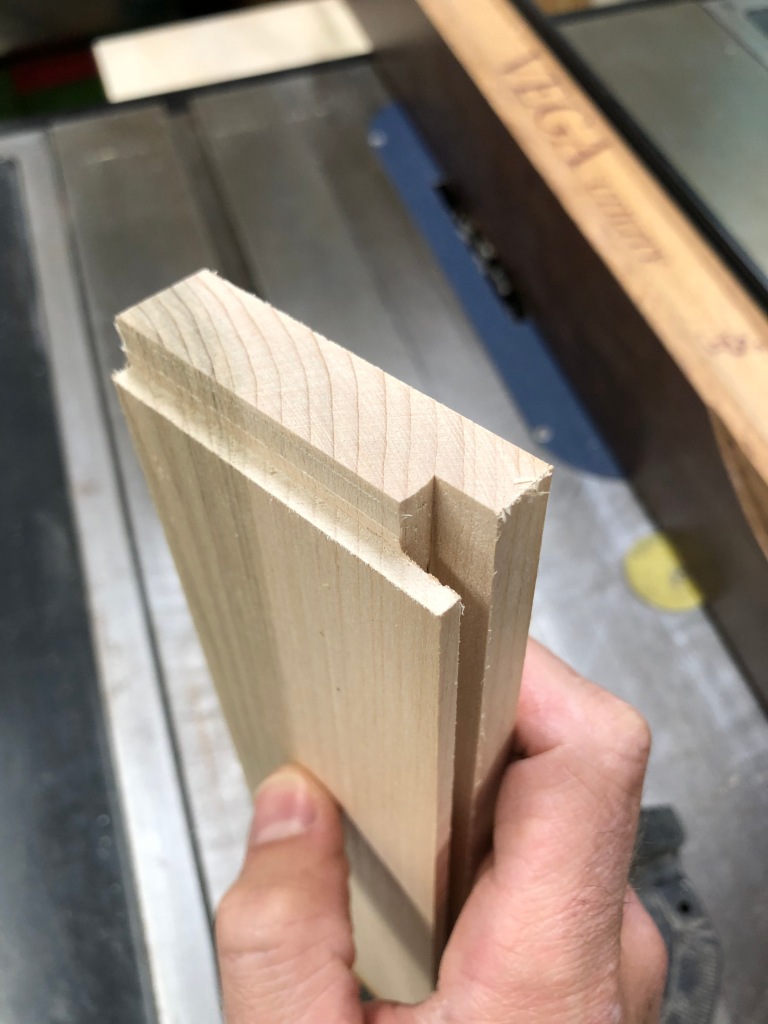
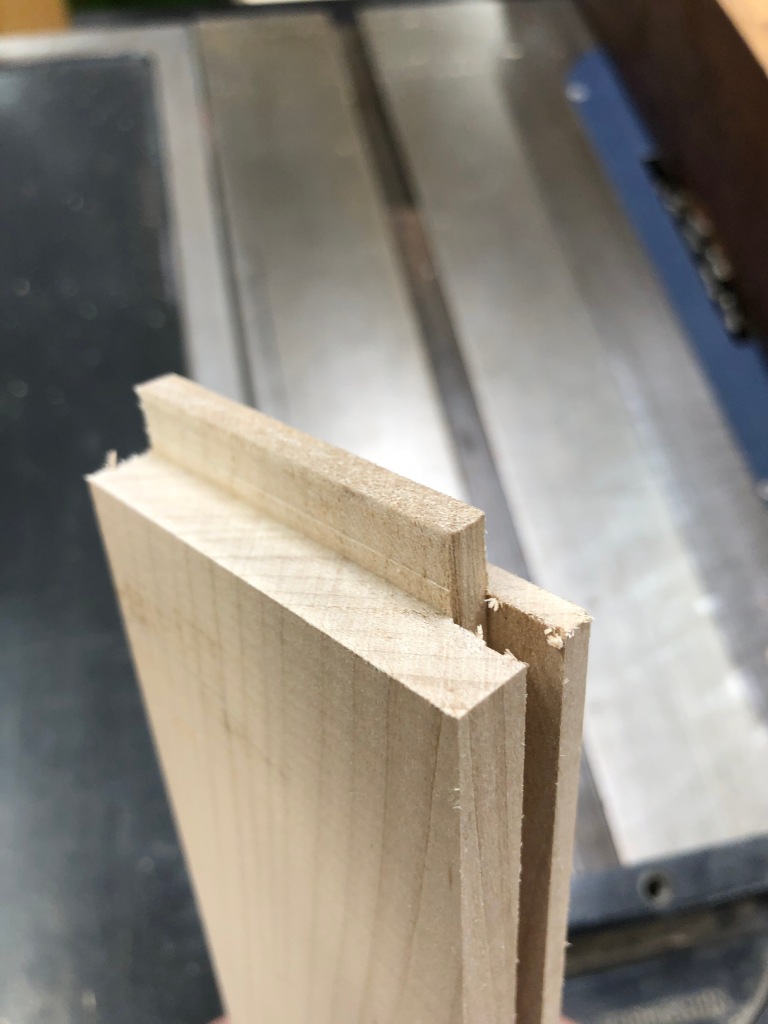
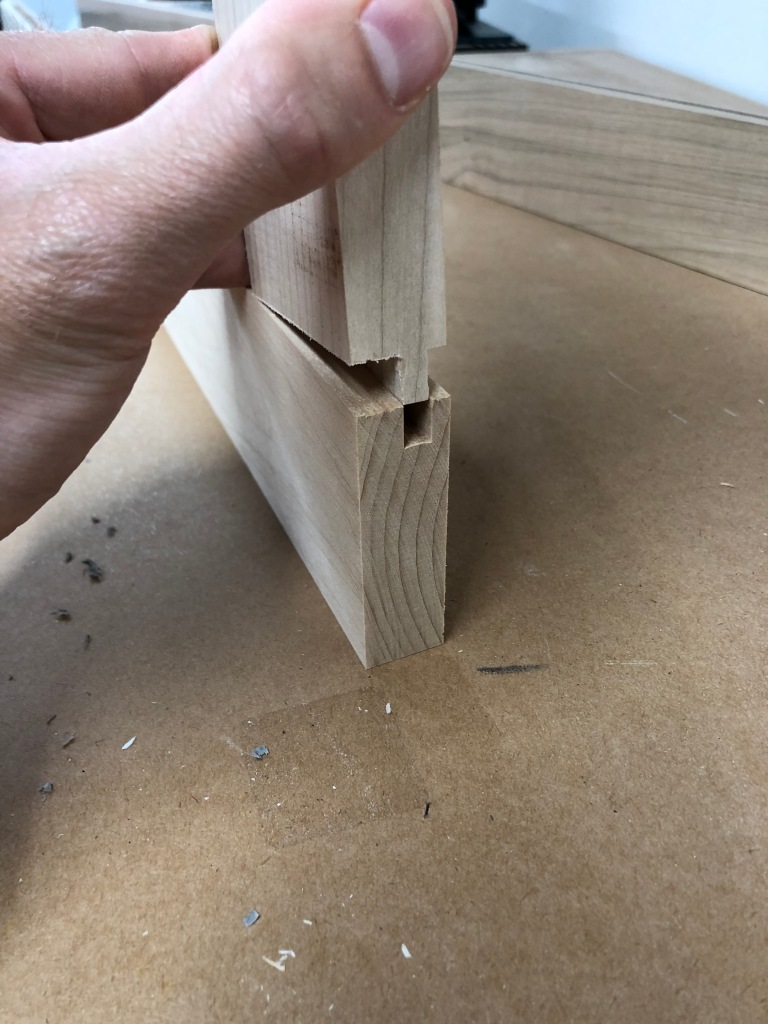
Now that we have the components of the door down, next up is defining the aspects of the joinery used: mortise and tenon. This type of joinery does not require fasteners and allows for easy assembly of a framed panel. The three areas to define in the joinery are the mortise, the tenon, and the shoulders. The tenon is the tongue that sticks out on one end of the board and the mortise is the groove that the tongue fits into. The shoulders are on either side of the mortise and tenon.
Materials Needed:
- 1/4″ Plywood
- 1” x 3” Maple Boards – we used pine in some parts of our house due to budget concerns but found maple to be more resilient to dents
- Miter Saw
- Table Saw
- Dado Blade Set
- Tape Measure
- Dial Caliper
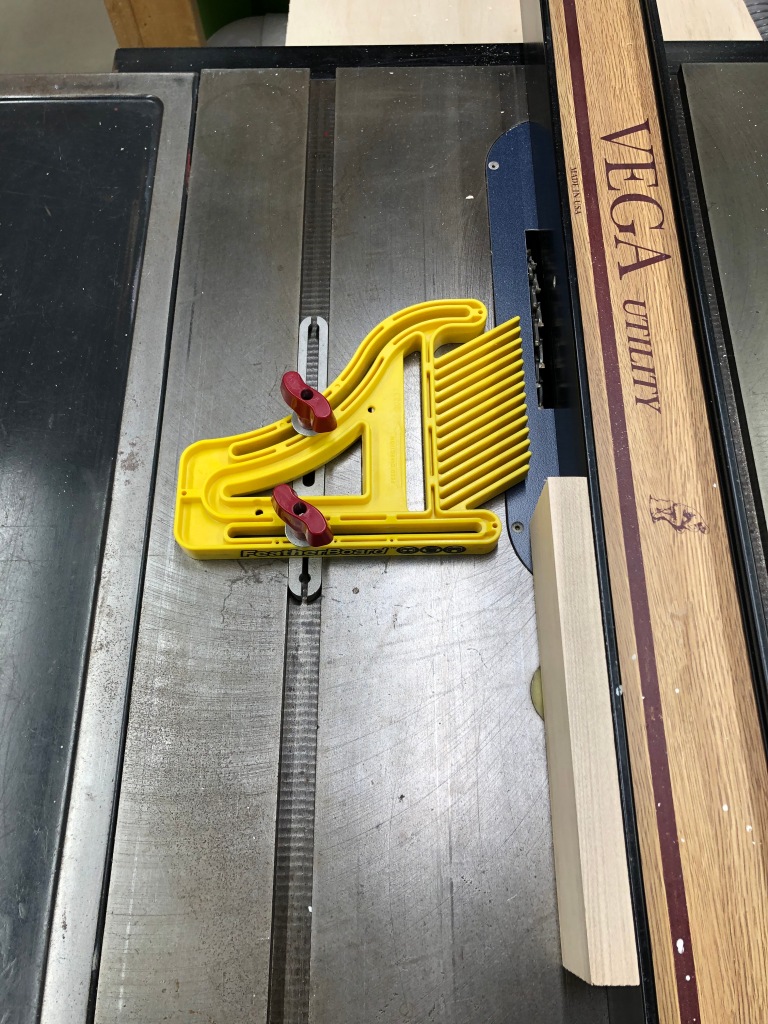
- Feather Board
- Wood glue
- Acid brush
- Bar or Pipe Clamps
- Hinges
- Hinge Jig and Bit
- Drill press
Steps:
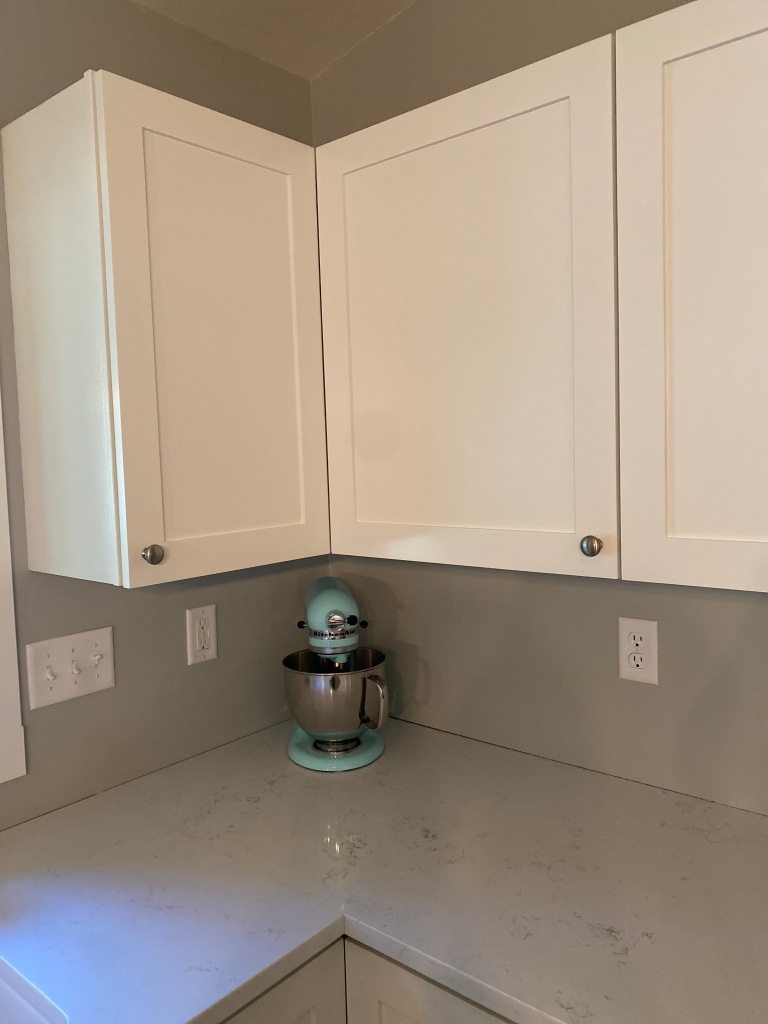
- Determine final height and width of the cabinet doors.
- For the upper cabinet doors, we used the same height as the cabinet box. The width is determined by several factors: gaps between doors, distance to wall, and type of door hinge.
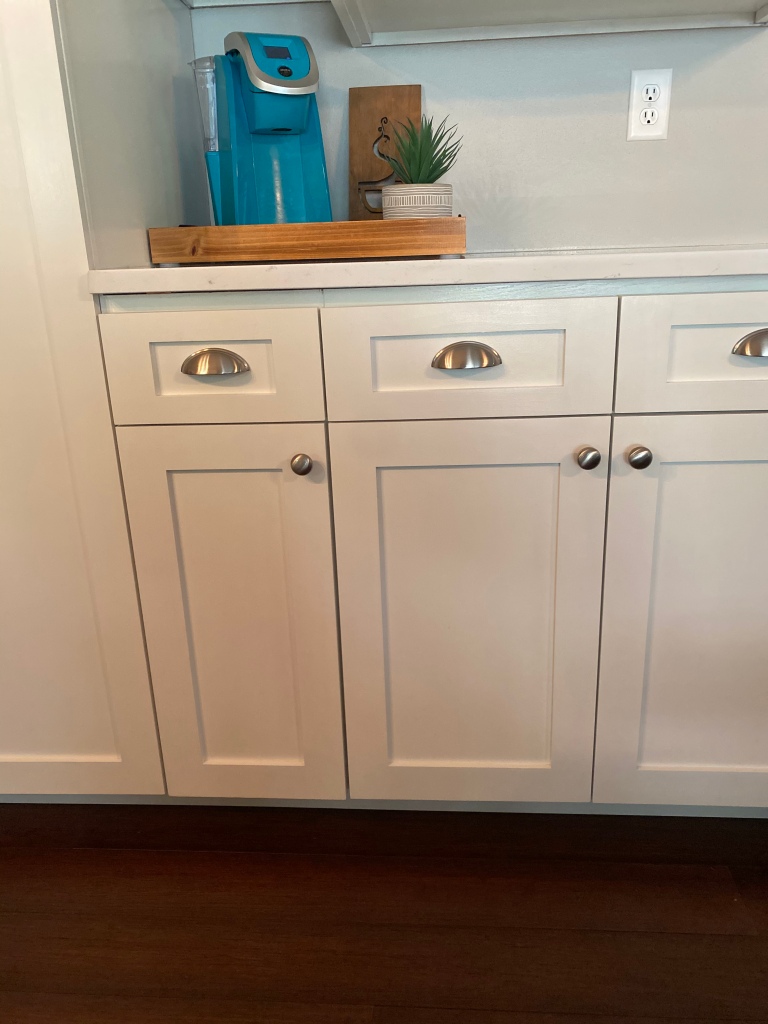
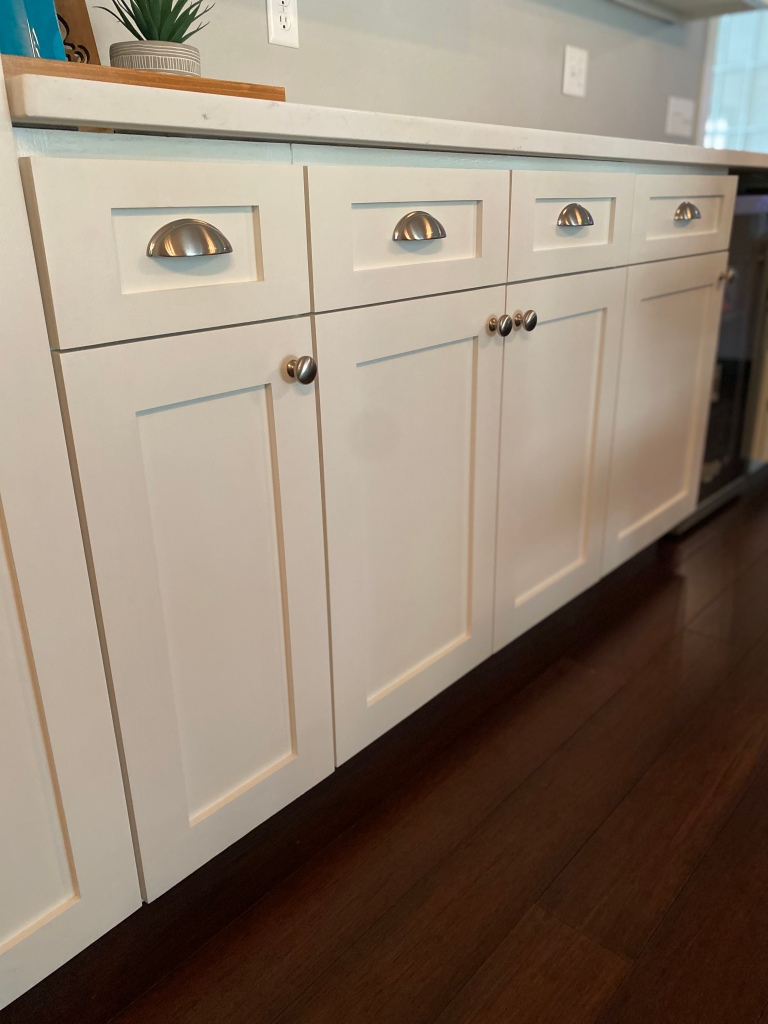
- For lower cabinets, one must also consider the height of the drawer front, the gap between the cabinet door and drawer front, and the gap between the drawer front and the top of the cabinet base.
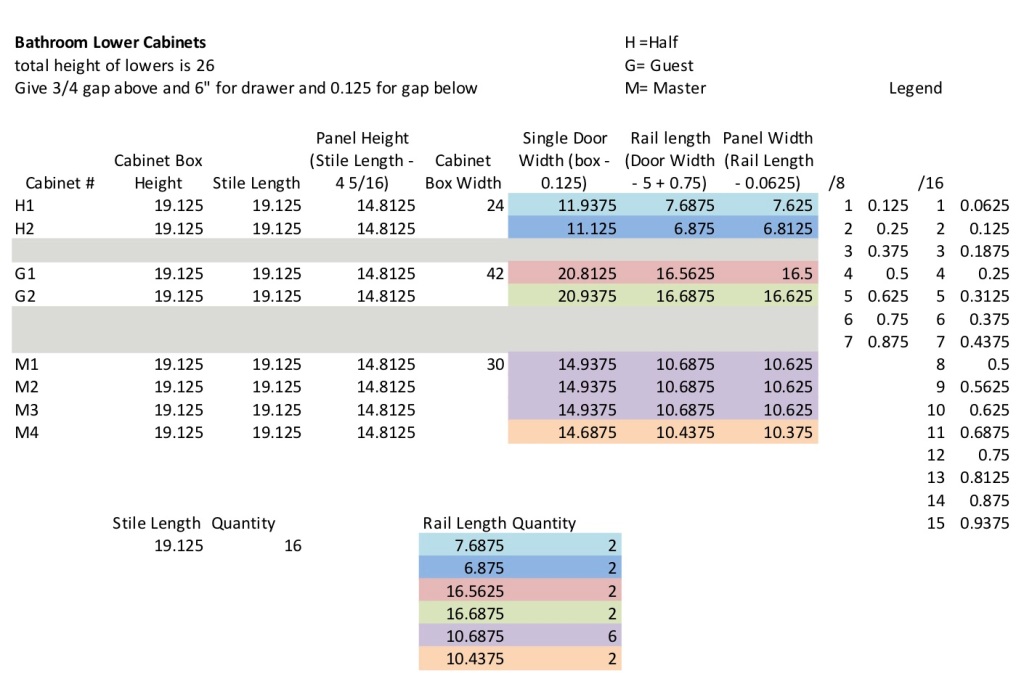
- Calculate material dimensions – here is where the fancy spreadsheets come in! 🙂
- For the 3 components of the door, you will need 4 measurements: stile length, rail length, panel width, and panel height.
- Stile Length = Final Height of Door
- Panel Height = Stile Length – 4-5/16″ (4-5/16″ = 4.25″ (see table) + 1/16″)
- Rail Length = Final Width of Door – 4.25″ (see table)
- Panel Width = Rail Length – 1/16″
- *Note: the 1/16″ subtractions above are to allow expansion of the panel within the frame.
How to Measure Rail Length
| Component | Measurement |
| Width of Stile | 2.5″ (actual width of a 1″ x 3″ board) |
| Length of Tenon | 3/8″ |
| Rail Length | Final Width of Door – 4.25″ |
- Choose your materials.
- We chose pine for most of the house since we were painting the wood and because our budget didn’t allow for 84 doors and drawer fronts in hardwood. Pine tends to be easier to work with but less reliable and precise when compared to a hardwood like maple. In the long term, maple is less likely to warp and will stand up to more wear and tear. We used 1″x3” boards but 1”x4” are also commonly used.
- When looking for the panel material, find an option that is exactly 1/4” and very uniform in its thickness. We found that spending a little more money on the panel was worth not having to worry about it not fitting in the groove.
- Cut panels on the table saw and label the back of each one. Try to plan cuts to make the most out of the material.
- Cut rails and stiles to length with the miter saw and label each board as you go. Take the time to make sure the miter saw is set at a perfect 90 degrees to the material as any sloppiness will show in the final product. Save scraps for later use.
- Install the dado set on the table saw to cut a 1/4” mortise down the length of rails and stiles. Use scrap cuts of boards and panel material to test the fit of the panel to the mortise. It should be a snug fit that still allows some sliding.
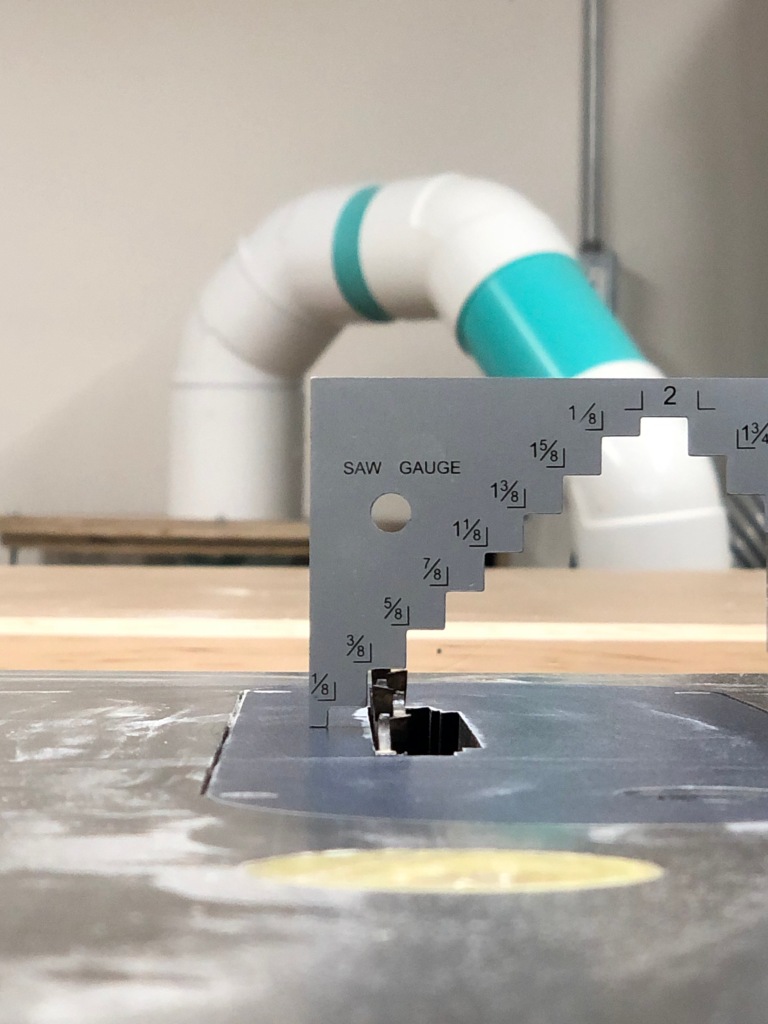
- Position the fence of the table saw 1/8” from dado set and set height of the blades at 3/8” off the table.
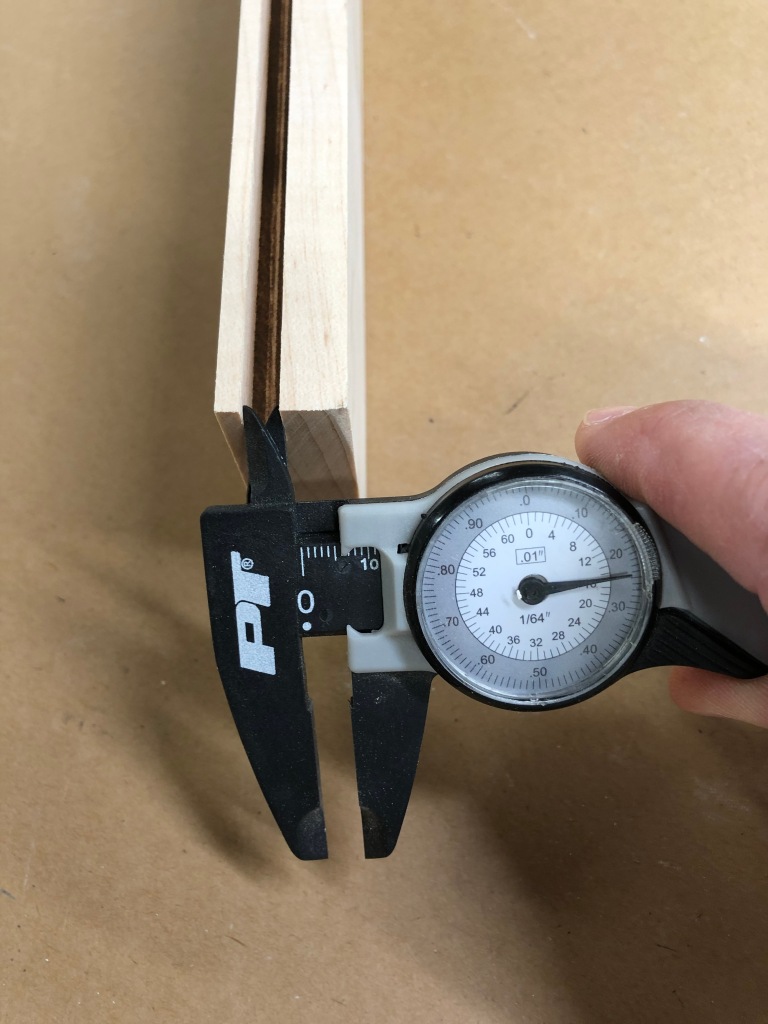
- Cut mortise in a scrap board then check depth and width using a caliper. The mortise should be 1/4” wide and 3/8” deep with one shoulder measuring 1/8” and the other measuring 3/8”. Use a feather board to keep material tight to the fence and allow for more consistent cuts.

- Cut mortise in all rails and stiles and several pieces of scrap material as well. At this point the stiles are complete.
- Install a sacrificial fence on table saw (this allows you to cut right to the end of your work piece without damage to your fence).
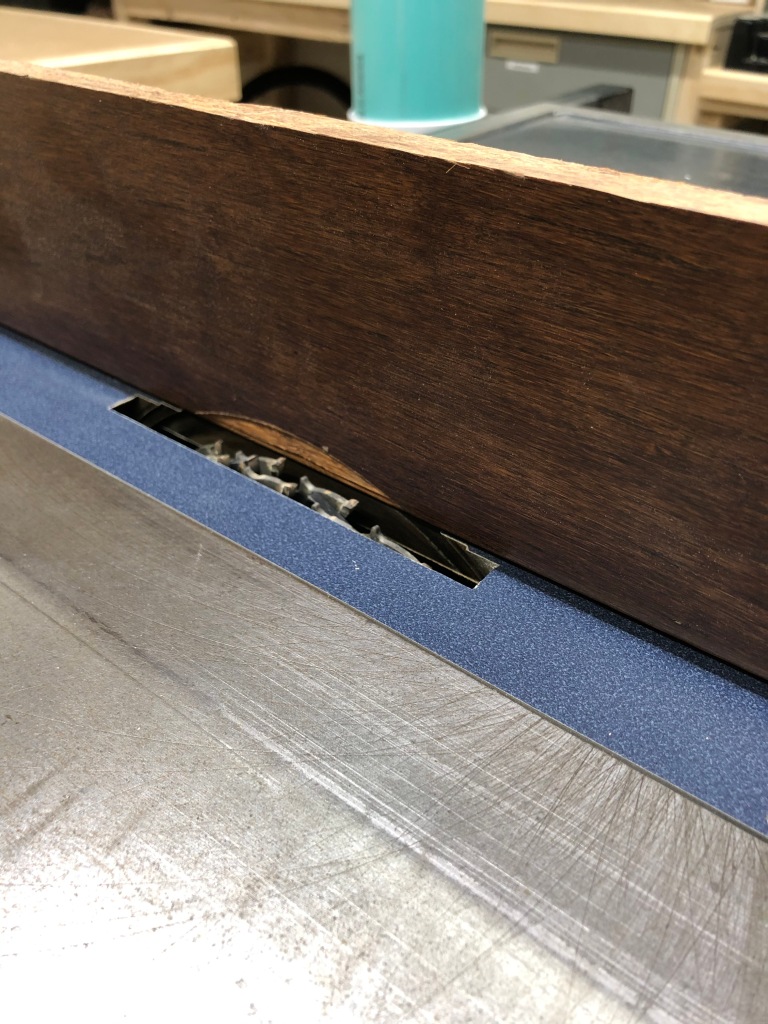
- Add a 1/4″ chipper to dado set to have a new cut of 3/8” wide. Position sacrificial fence above fully lowered dado blades so that the fence only just impedes raising the blade (1/16” into the path of the blade is sufficient). Turn on the saw and slowly raise the blade to cut a shallow half circle into the fence to a height just over 1/8”. Lower blade to 1/8” in height and 3/8” off the un-cut face of the fence.
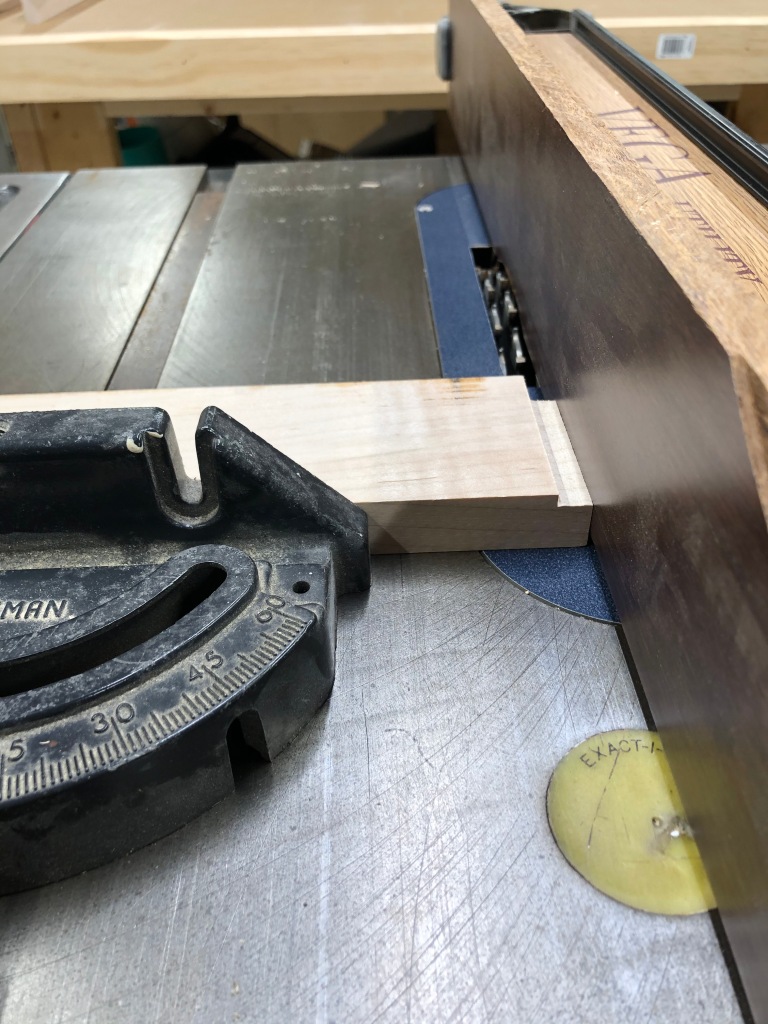
- Place a scrap board with 1/8” shoulder on the table. Position against fence and keep perpendicular using a miter gauge set to 90 degrees. Turn on saw and slowly pass board over the blade, keeping the board tight to the fence. This step should remove the 1/8” shoulder on the end of the board. Raise or lower blade as necessary to just remove the shoulder and nothing more.
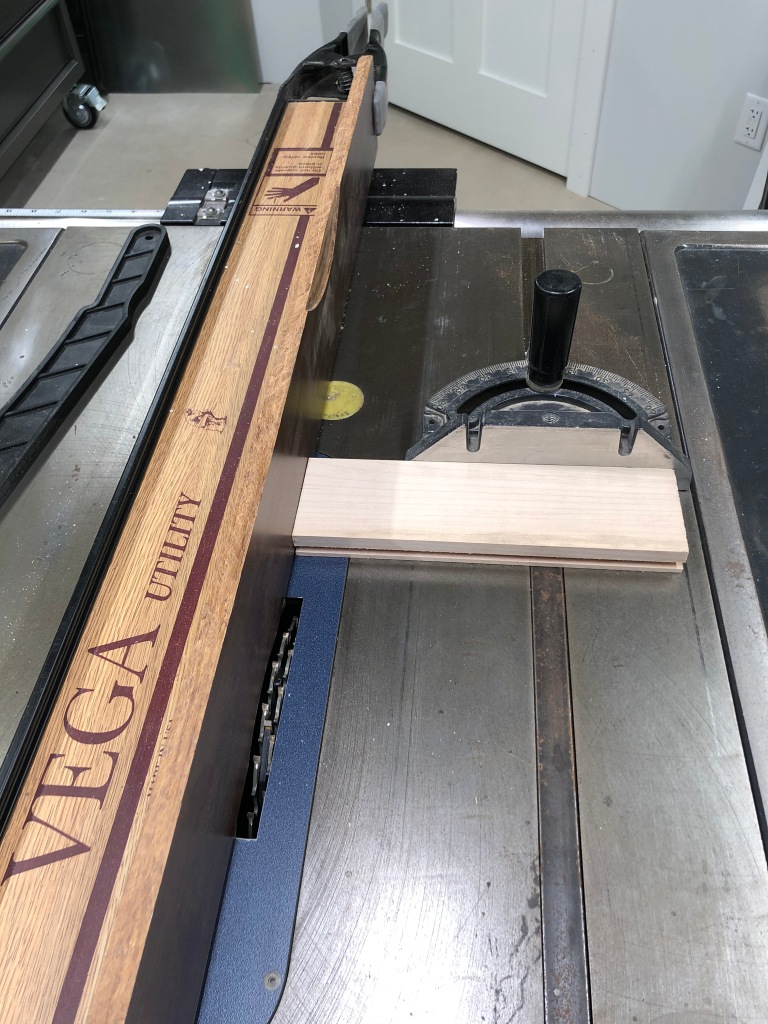
- Once saw set up is finalized, cut the 1/8” shoulder off both ends of all rails. To prevent tearout, position a scrap board between rail and miter gauge.
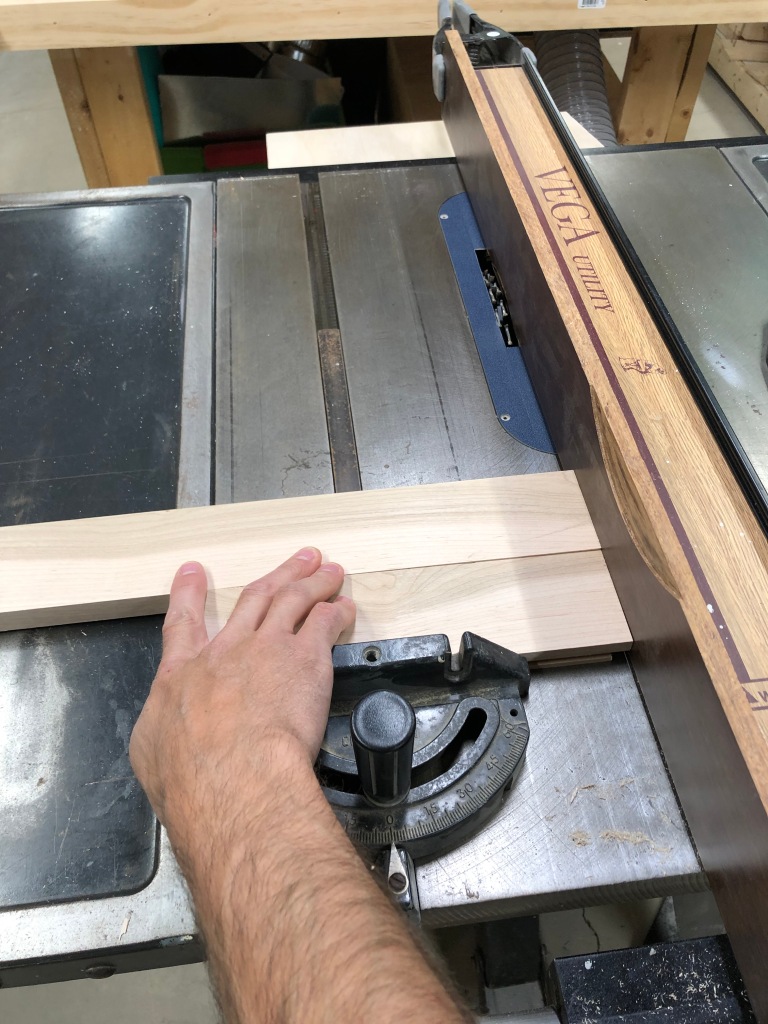
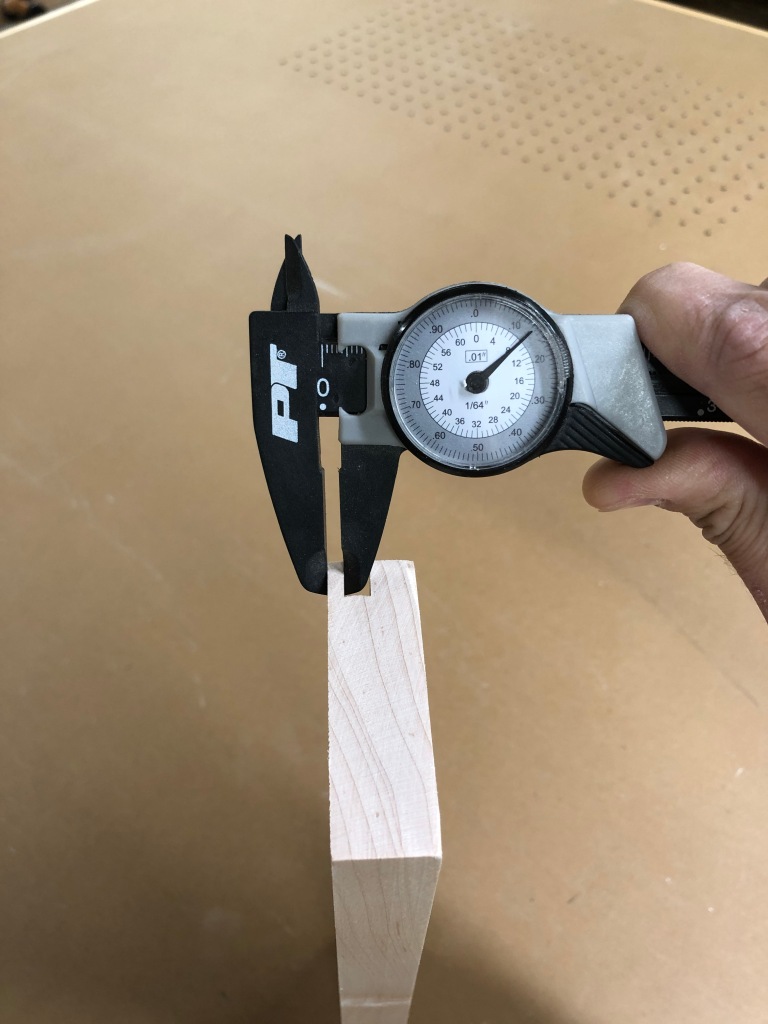
- Raise blade to height of 3/8” and repeat this technique on the other shoulder of the rails. Be sure to use a scrap piece to first test the fit of the newly created tenon on the mortice of the stiles. This fit should be snug but not too tight to risk cracking open the mortice. The shoulders of the tenon also should sit tight with the shoulders of the mortice without creating any gaps.
- Sand all of your panels before assembly.
- Assemble all cabinet doors, sliding the panel into the mortices of the rails and stiles to make sure everything fits well. Check for square by measuring diagonally between corners of door (you should get the same value on each diagonal).
- Set up clamps ahead of time to allow for quicker assembly.
- Remove the stile from one side of the door, keeping rails and panel attached to the other stile and each other. Place just enough glue on the end of the rails to just cover the tenon and shoulders. Use an acid brush to spread the glue. DO NOT GLUE PANEL. Carefully slide the stile back on and repeat with the other side of the door.
- Tighten the clamps slowly and clean up any glue squeeze out with a damp rag. Re-check for square.
- Allow glue to set before removing clamps.
- Use wood filler to fill in any imperfections, especially in the end of the mortise and tenon joint.
- Sand the door until all faces are smooth. Slightly round over the sharp edges to make them more resilient to future abuse.
- Test fit cabinet door to cabinet base and decide location of hinges.
- Use hinge template to mark location of holes.
- Using drill press and proper forstner bit, cut hole for hinge.
- Install hinge and test for final fit one last time.
- Clean the sanded door with a tack cloth and apply paint.
- Sand off any imperfections between coats of paint with high grit sandpaper and re-tack before next coat.
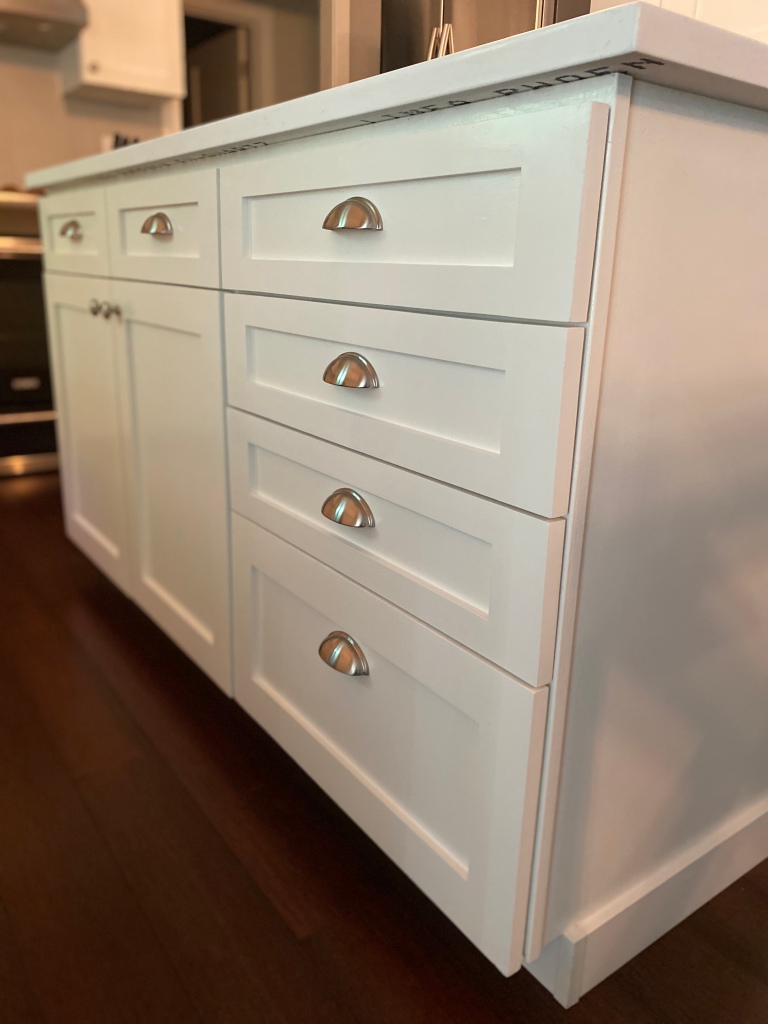
- Install door and adjust hinges to fit.
- Install hardware.


One thought on “How to Build Mission Style Cabinet Doors”